Saturday, August 11, 2012

Stampin' Up! Convention 2012

Every July we converge on Salt Lake City, Utah, for the Stampin' Up! Annual Convention!  This year The TOPICS! had 13 members who attended - AND WE HAD A BLAST!  Below is a picture of some of us enjoying a meal together at Changs.  Starting from the left is Matt Bradshaw, Linda Bradshaw, Margaret Digby, Debbie Riches, Leslie Carmon, Pam D'Urso, me, Kirsteen Gill, and Tammy Davis.  I am so lucky to have an AMAZING downline - and they are good friends, too!


Below is a picture of Matt and Linda Bradshaw just returning from a tour of the Riverton Campus, the home offices of Stampin' Up!


Aren't these great-looking gals below?  I heard they had a wonderful time touring the Riverton Campus!  I'm sure the bus ride there and back was an absolute HOOT!  Starting way in the back is Amy Cato, Candice Marcella, Margaret Digby, Leslie Carmon, Kirsteen Gill, and Debbie Riches.  They must have all decided to wear red that day!


Below is Margaret Digby, checking in and getting her supplies for the week!  That great-looking bag was filled with stamping goodies and things we'd need for our week at the convention.  It was a perfect place to store all of our "stuff" in!  Margaret looks happy!


Below is Amy Cato, Candice Marcella, Debbie Riches, and Kirsteen Gill checking in to get their bags.


Below is Leslie Carmon and Pam D'Urso checking in for the convention!  Pam is my sister, can you tell?


Below is Lizette Lobpries, checking in to get her special convention bag, too!


Ahhh, my favorite people!  Below, starting from the left, is Kirsteen Gill, Leslie Carmon, Margaret Digby, Candice Marcella, Amy Cato, Matt Bradshaw, Linda Bradshaw, and me!  I think we were waiting in line to get into Memento Mall, our favorite place to shop during the convention!


Below is Sally Nusbaum and my sister, Pam D'Urso.  I believe they got a special pin for their recruiting efforts last year!  WAY TO GO!


Below is Kirsteen, proudly showing off her special recruiting pin!  WE'RE PROUD OF YOU, KIRSTEEN!


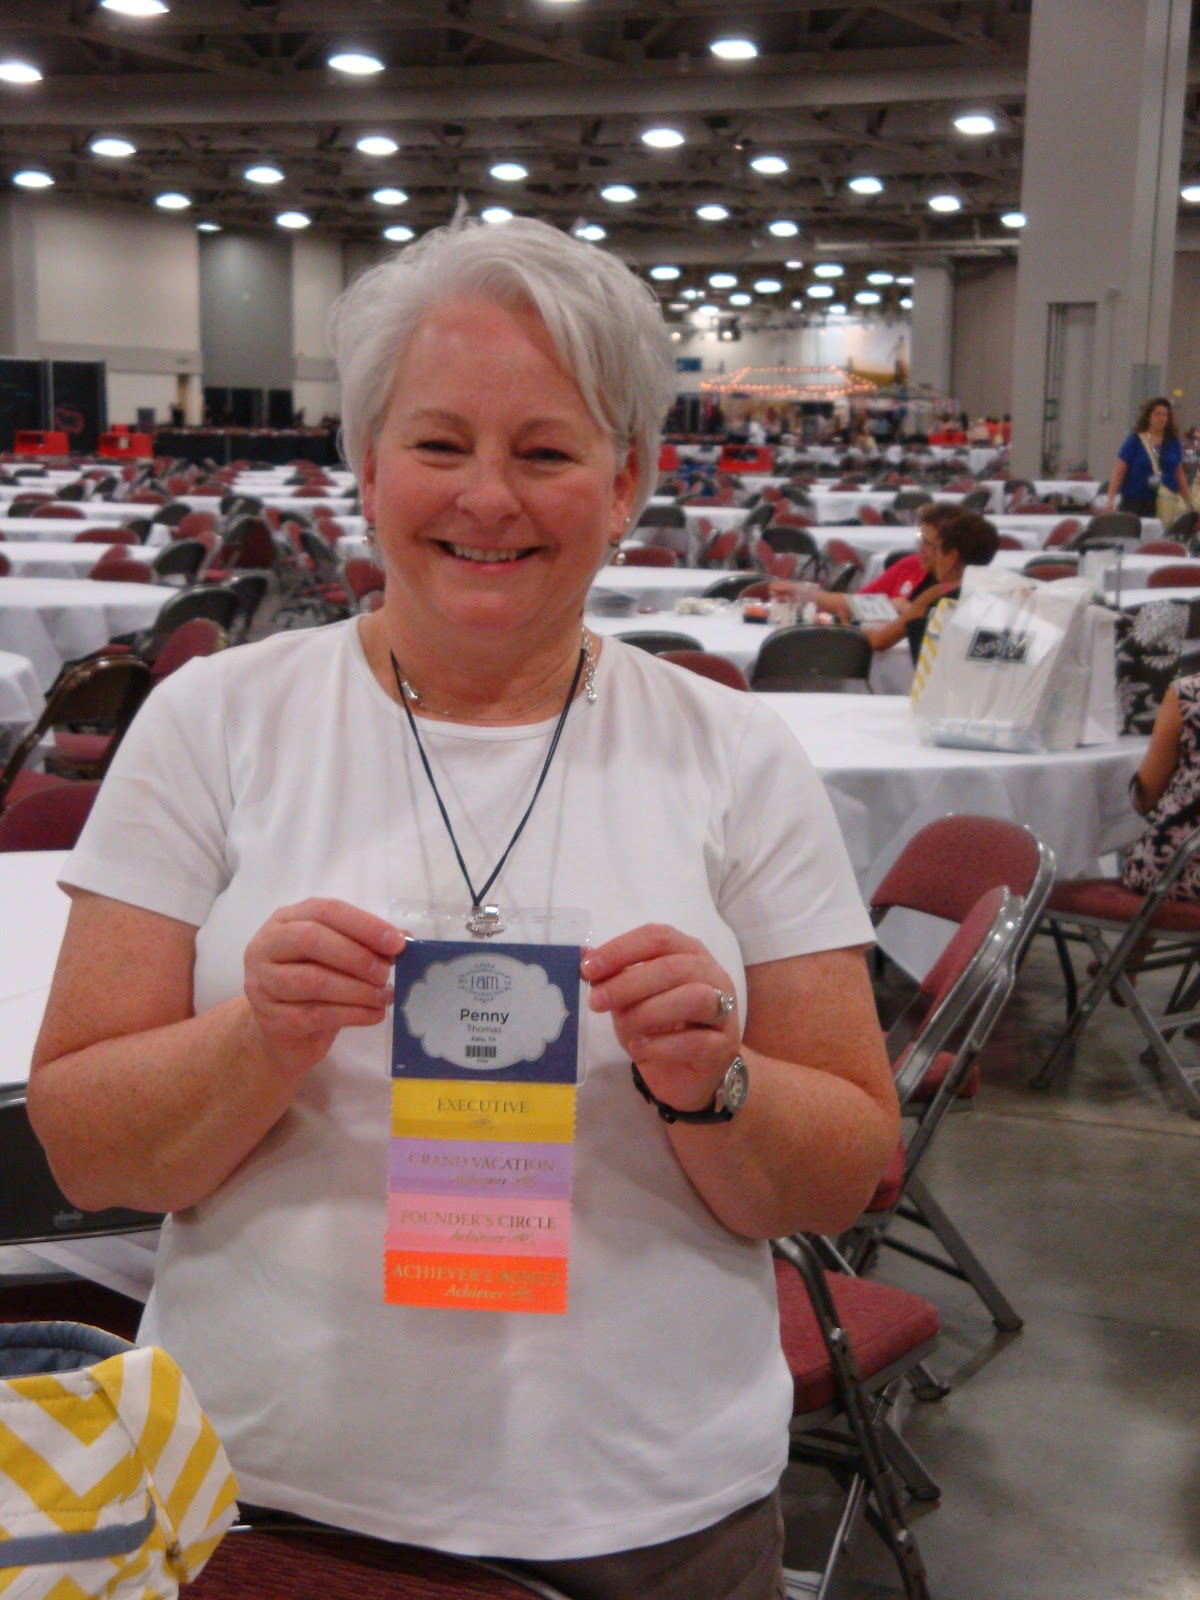
Here I am below so excited to learn that I earned Founder's Circle again!  I'll get to take a special trip to St. George, Utah, next month!  I LOVE THAT TRIP!  Couldn't have done it on my own - my fabulous customers and my amazing downline helped me earn that trip!  THANK YOU, EVERYBODY!

Here we are below in one of the general sessions of the convention!  There were so many of us, we took up two rows!  It was so much fun.  I can't wait for next year's convention - Stampin' Up!'s 25th anniversary convention!


Matt and Linda Bradshaw drew quite a bit of attention with their fabulous dancing!  I didn't know they were ballroom dancers!  They looked great swirling and twirling to the music!  It was so much fun to watch them - and everyone else enjoyed watching, too!


Below is my sister, Pam D'Urso, and Kirsteen Gill walking across the stage to be recognized for their leadership skills!  They had two or three promotions to Supervisor in their first-level downline!  WOO HOO!  YOU GALS ROCK!


Here is Margaret Digby, who just won a prize from Prize Patrol!  Oh, my gosh, look at that face!  Margaret is glowing and couldn't be happier!  I'm so glad she won a prize!


Below is Candice Marcella, walking across the stage as a new recruit!  Candice is a go-getter and is motivated, driven, and on fire!  I know we will see Candice on stage again and again!  MORE POWER TO YA', CANDICE!  The world is yours, my friend - GO GET IT!


Below is another shot of our group waiting for the General Session to start!  I'm already getting excited about next year's convention!  There's an energy unlike anything else when thousands of demonstrators are together!


Below is Debbie Riches, who just won a prize from Prize Patrol!  She looks extremely happy, doesn't she?  Prize Patrol has a way of doing that for you!


Here we all are jumping, cheering, and screaming!  Stampin' Up! gave EVERYBODY a free stamp set, the cute Ronald-McDonald set!  Free stamps always gets everybody celebrating! 


Below is Lizette Lobpries and Tammy Davis, deliriously happy!  They are on a "free stamp set" high!  I think they are glowing!


Here's the whole group after the convention was over!  We posed in front of the "I am" stage!  The convention theme was all about doing Stampin' Up! your way!


On the last night of the convention, I treated my group to dinner at Bucca di Beppo.  We got to sit in the Pope's Room - and here he is!  We had a wonderful evening together!  The food was delicious and the company was divine.  It was a great way to end the convention.


Thanks to all of my downline who attended the convention!  You made this year's trip extra-special.  I'm crazy about each one of you and I'm so appreciative of all you do!

Friday, August 3, 2012

July 2012 Top Picks Day

Twice a year I have a special event called "Top Picks Day" to recognize and celebrate the demonstrators in my downline who have achieved amazing things!  It has become my favorite event to do and I get so excited about spending this special day with them.  I provide a day of stamping where they don't have to plan a thing or cut a single shred of paper - and lunch is on me, too!  We have so much fun at this event and I love spending this special day with them!  Just wanted to share some pictures from this event.


Aren't the tables lovely?  Each demonstrator received her own special teacup and saucer to take home as a special memento for the day.


Each teacup had a teabag favor in it with a vintage heart!  This was my favorite teacup and saucer!  It was beautiful!


There were bird cages on the tables, which were so pretty!  Our lunch was served on china.  The tables were so nicely decorated and everything was perfect for a ladies' tea.


I decorated a bag for each demonstrator with her initials on it so she would have something to put all of her stamping projects in for the day.  Each bag contained a catalog and two Holiday Catalogs to pass out to prospective customers.  There was also a candy bar, some mints, and Cracker Jacks in each bag in case she needed a snack during the day!


Love the little clothespins that say, "You suit me to a tea."  That was perfect for my luncheon!


 This was the drink station.  We had flavored teas and raspberry lemonade with our lunch.


Flowers were placed in mint julep cups to add a beautiful vintage feel. 


These pink organdy bags were passed out during lunch to each demonstrator.  They contained some stamping goodies to thank each demonstrator for all of her hard work and dedication!


This is Margaret Digby trying to decide which dessert she'd like!  There were quite a few to choose from, but I think my favorite was the banana pudding pies!


Our ladies' tea menu was exceptional!  For appetizers, we had strawberry soup, served with a touch of whipped cream; toast points, served with homemade tomato chutney and cream cheese.  For lunch, we had Quiche Lorraine; artichoke cups; curry chicken salad; smoked salmon on flatbread, served with a dill sauce; cucumber finger sandwiches; and an assortment of fruits and cheeses.  For dessert, we had lemon and key lime tarts, tea cookies, and quite an assortment of other things that I can't recall now!   


Here's our group enjoying a wonderful lunch together!


Here are my wonderful caterers!  They are good friends of mine and Stampin' Up! customers, too!  They have officially launched their new catering business and we were their first official gig!  We were so impressed with the wonderful job they did for us.  The decorations were tasteful and elegant and the food was delicious - and service was with a smile!!!  If you would like to use them for one of your events, the name of their business is McClendon-Lane Catering and Events.  Their business phone number is 281-382-3545 and their business email address is mcclendon.lane@yahoo.com.


Here are the gals working on their stamping projects.  We made the stampin' sampler that is already posted on my blog, as well as all of the candy pieces and the cake piece that Elizabeth Hurst was so kind to show us how to make.  We also made several cards, so it was a full day of stamping and paper-crafting!


Before each demonstrator left, I gave her one of these little boxes with a hand-stamped note expressing my gratitude for all she does!  I love how these little boxes look with a vintage faceted button on the front! 


Inside each box was one perfect little petit four for her to enjoy later at home! 

I hope I made these gals feel special!  They all have my utmost respect and admiration and I loved celebrating them and recognizing them on this fun day!  They should be celebrated and recognized every day for all they do!

Monday, July 30, 2012

Sweet Essentials Elf Shoes Card


I just found my inner elf!  What BLING this little elf brings to the holidays with his shoes!  With his cute little stocking legs, I just want to eat him up!  This card was featured at my "Happy Birthday to You" Camp Wannastamp because I told the gals we'd celebrate a little Christmas in July as well!  A big thank-you to my friend France Martin, also known as Frenchie, for her wonderful tutorial on how to make these shoes!  The recipe is below.

Recipe:

Paper:  Cherry Cobbler - 8-1/2 X 5-1/2; Crumb Cake - 5-1/4 X 4; Gumball Green - 5-1/2 X 4-1/4 (for the Top Note Die to make the shoes!); Red Glimmer Paper - 1-1/4 X 3/4 (you'll  need two of these); Silver Glimmer Paper scrap; Be of Good Cheer Designer Series Paper - 3 X 5/8 (you'll need two of these); Crumb Cake - 5 X 1/2 - score at 1/2", 3/4", 4-1/4" and 4-1/2" to create the banner)
Stamps:  Sweet Essentials
Inks:  Gumball Green; Early Espresso; Cherry Cobbler
Miscellaneous:  SNAIL Adhesive; Stampin' Sponges; Big Shot Machine; Perfect Polka Dots Embossing Folder; Paper Snips; 1" Square Punch (to create the banner); Stamp-a-ma-jig; Stampin' Dimensionals; Top Note Die; Tabletop Paper Cutter; 1/2" Circle Punch; Mini Glue Dots; 1-1/4" Circle Punch

Polka Dot Parade Designer Series Paper Card


If it's got polka dots, I'm all over it!  Polka dots are one of my favorite things!  This card was featured at my "Happy Birthday to You" Camp Wannastamp.  I saw a design similar to this and just changed the Designer Series Paper and the greeting.  The recipe is below.

Recipe:

Paper:  Whisper White - 8-1/2 X 5-1/2; Whisper White - 4-5/8 X 3-3/8; Polka Dot Parade Designer Series Paper scraps; Whisper White scrap for the banner
Stamps:  Itty Bitty Banners
Inks:  Basic Black
Miscellaneous:  Stampin' Dimensionals; Big Shot; Perfect Polka Dots Embossing Folder; Corner Rounder; 1-1/4" Square Punch; Bitty Banners Framelits; Basic Rhinestone Jewels; Paper Snips

Reason to Smile Card


Here's a sweet little card we made at my "Happy Birthday to You" Camp Wannastamp, which features the "Reason to Smile" stamp set.  Both of the doilies are popped up, as well as the flower circle itself, and it looks so pretty in real life!  EEK!  I got some white embossing powder stragglers on my Soft Suede card stock - should have used my Embossing Buddy!  The recipe is below.

Recipe:

Paper:  Soft Suede - 8-1/2 X 5-1/2; Pink Pirouette - 4-1/4 X 1-3/4; Whisper White - 3-1/2 X 3-1/2 (for the doily); Raspberry Ripple - 2-1/2 X 2-1/2 (for the doily); Whisper White scrap
Stamps:  Reason to Smile; Blooming with Kindness
Inks:  Versamark; Early Espresso; Raspberry Ripple
Miscellaneous:  SNAIL Adhesive; Fancy Fan Embossing Folder; Big Shot Machine; 1-1/4" Square Punch (for the banner); Stampin' Dimensionals; Delicate Doilies Sizzlits; 1-3/4" Circle Punch; Stamp-a-ma-jig; White Embossing Powder; Heat Tool; Basic Rhinestone Jewels; Paper Snips; Embossing Buddy

Established Elegance Card


Here's a great vintage card I featured at my "Happy Birthday to You" Camp Wannastamp.  The inside says, "spoil yourself today," which means to treat yourself like a queen!  This is the swap I designed for the Disney World trip.  The recipe is below.

Recipe:

Paper:  Crumb Cake - 6-1/2 X 6-1/2; Crumb Cake - 3-1/2 X 1-1/2; Crumb Cake - 2-1/4 X 2-1/4; First Edition Designer Series Paper - 2-1/4 X 2-1/4
Stamps:  Established Elegance; En Francais; Bring on the Cake
Inks:  Versamark; Early Espresso; Soft Suede; Certainly Celery Marker; Pretty in Pink Marker; Regal Rose Marker
Miscellaneous:  Stampin' Dimensionals; Vintage Wallpaper Embossing Folder; Stampin' Sponges; Linen Thread - cut to 22" long; Paper Snips; distressing tool, but you can use a bone folder to get the same effect; Pewter Embossing Powder; Heat Tool; Stamp-a-ma-jig; Neutrals Buttons; Linen Thread - cut to 5" long; Mini Glue Dots; Pearl Basic Jewels; Sponge Daubers

Papillon Potpourri Card


I recently celebrated my double-nickel birthday!  My good friend Leslie Carmon sent me this birthday card and I knew immediately that I was going to case it!  I think it is absolutely lovely and would be suitable for so many different occasions.  This card was featured at my "Happy Birthday to You" Camp Wannastamp.  The recipe is below.

Recipe:

Paper:  Pink Pirouette - 8-1/2 X 5-1/2; Whisper White - 2-1/4 X 1-5/8 (you'll need four of these); Sahara Sand - 3-3/4 X 2-1/2; Whisper White - 3-5/8 X 2-3/8; Pink Pirouette Scrap
Stamps:  My Friend; Beautiful Birthday; Papillon Potpourri
Inks:  Pink Pirouette; Sahara Sand
Miscellaneous:  Stampin' Dimensionals; Big Shot Machine; Vintage Wallpaper Embossing Folder; SNAIL Adhesive; Stamp-a-ma-jig; Elegant Butterfly Punch; Mini Glue Dots; Paper Snips; Basic Rhinestone Jewels

Summer Silhouettes Card


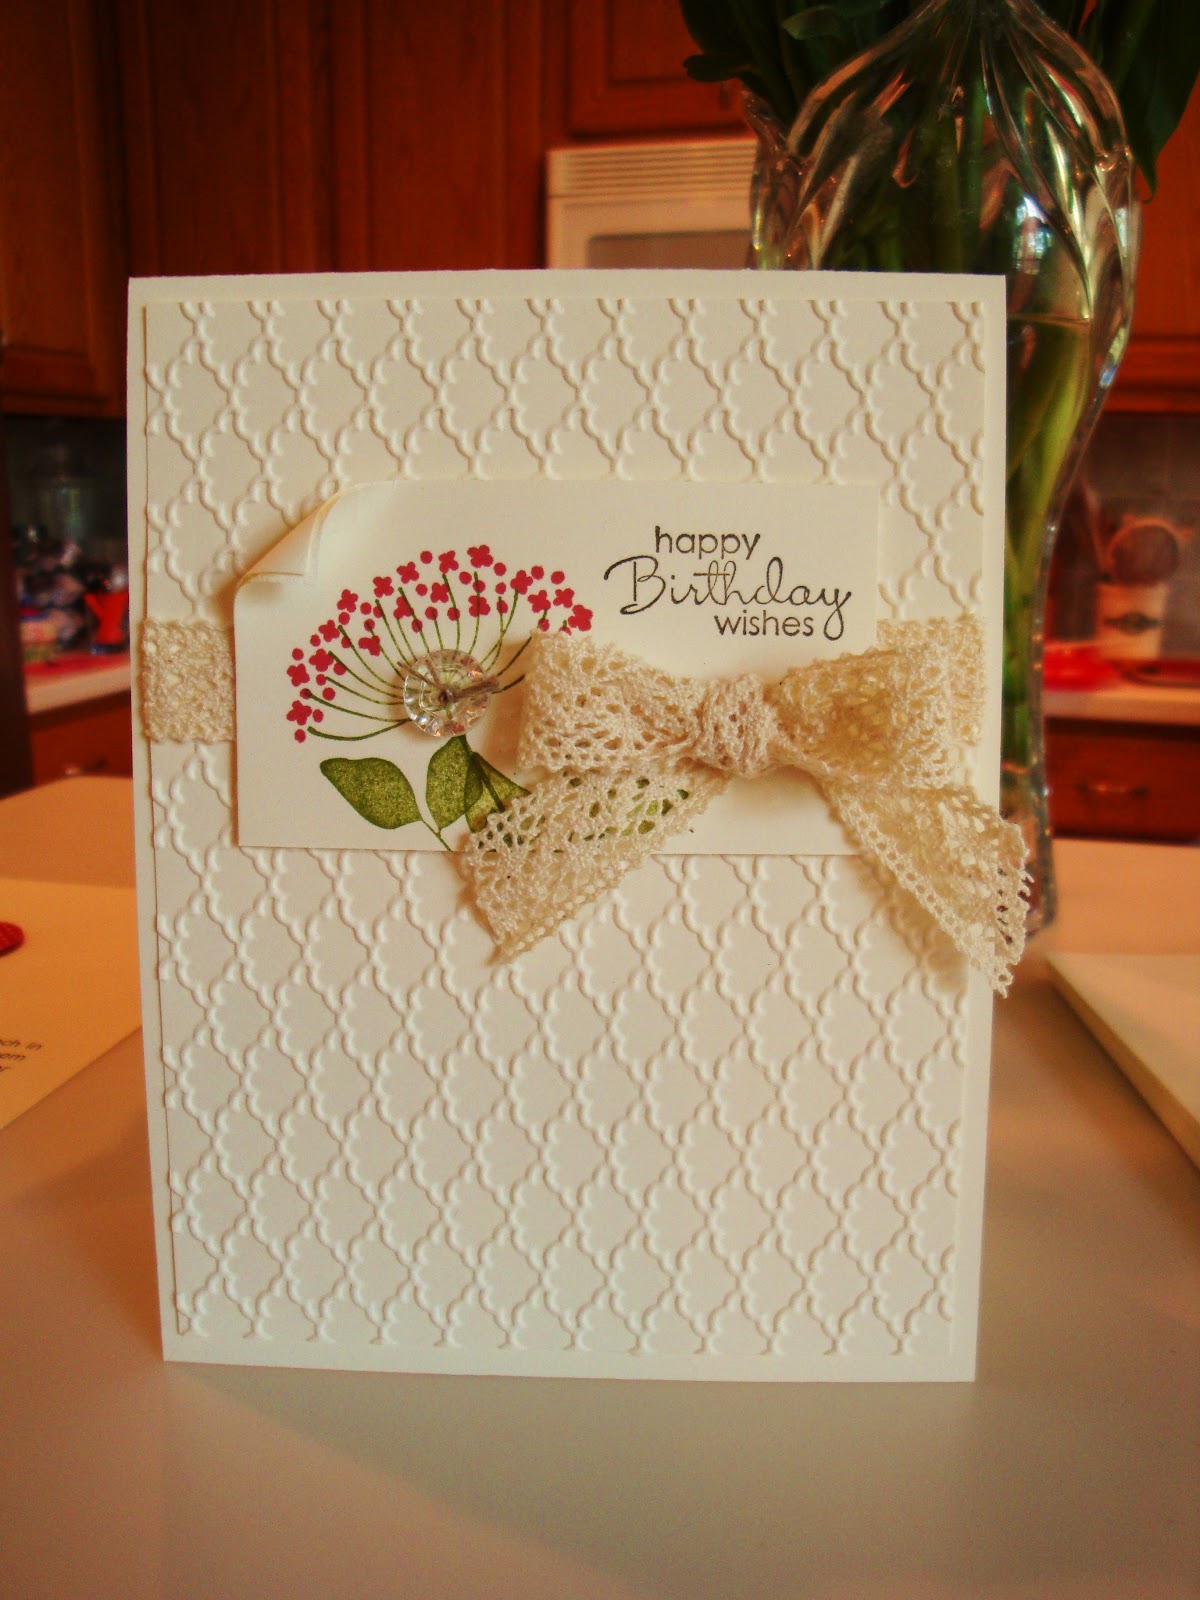
Here's a great vintage card (and a beautiful version of a non-distressed vintage card that was stamped by my friend, Gina Sones) that was featured at my "Happy Birthday to You" Camp Wannastamp.  When you pair the Fancy Fan Embossing Folder, Victoria Crochet Trim ribbon, and our new Vintage Faceted Designer Buttons, you get such a nice vintage look!  The recipe is below.

Recipe:

Paper:  Very Vanilla - 11 X 4-1/4; Very Vanilla - 5-1/4 X 4; Very Vanilla - 3 X 1-3/4
Stamps:  Summer Silhouettes; Blooming with Kindness - for the birthday stamp camp, we substituted the greeting with Petite Pairs
Inks:  Early Espresso; Old Olive; Primrose Petals; Soft Suede
Miscellaneous:  Bone Folder (to distress the card stock on the main panel); Big Shot Machine; Fancy Fan Embossing Folder; Victoria Crochet Trim - cut to 5" long and another piece cut to 11" long; Stampin' Sponges; Mini Glue Dots; Paper Snips; Vintage Faceted Designer Buttons; Stampin' Dimensionals; Stamp-a-ma-jig; Linen Thread - cut to 3" long

Aviary Card


I cased this beautiful card from LeeAnn Greff, who is such a sweetheart!  When you hold this card in your hand and look at it in person, it is just gorgeous!  There's so much bling, it just makes you feel happy!  This card was featured at my "Happy Birthday to You" Camp Wannastamp.  The recipe is below.

Recipe:

Paper:  Pool Party - 11 X 4-1/4; Whisper White - 4-3/4 X 3-3/4; Calypso Coral - 3-3/4 X 1; Pool Party scrap; Calypso Coral scrap; Daffodil Delight scrap
Stamps:  Aviary; Thoughts and Prayers; Made For You
Inks:  Lucky Limeade; Early Espresso; Pool Party
Miscellaneous:  Stampin' Dimensionals; Dotted Scallop Ribbon Border Punch; SNAIL Adhesive; Stamp-a-ma-jig; Basic Rhinestone Jewels; Paper Snips; Mini Glue Dots; Itty Bitty Shapes Punch Pack

Sunday, July 15, 2012

Framed Stampin' Sampler


To me, it doesn't get any better than this!  I am in love with this picture.  It sits on my desk and brings me great joy on a daily basis.  It's all about Stampin' Up!  It has all of the cute little things that I dearly love!  It's stamped with beautiful stamp sets; it's punched with so many punches that I adore......so, what I've got is a stampin' sampler!  I had so much fun with this, so now I'll have to make one for Halloween and Christmas!  Might as well do one for Valentine's Day, too!  This item was featured at my "A Frame, Five Pieces, and a Slice" Camp Wannastamp!  The recipe is quite large, so I won't post the recipe, but I used the 1-3/8" Square Punch and decorated each square with as much "stuff" as I could get on it!  I'm a happy girl!  The colors I used are Very Vanilla, Basic Black, and Soft Suede.

Flat Square Candy Piece


LUSCIOUS!  I'm all over it!  You can decorate the top of this candy piece in so many beautiful ways.  The ideas are endless!  This item was featured at my "A Frame, Five Pieces, and a Slice" Camp Wannastamp.  The recipe is below.

Recipe:

Paper:  Early Espresso - 6-1/2 X 1/4 - score at 1-1/2", 3", 4-1/2", and 6" (this is the candy base); Early Espresso - 2-1/8 X 1-1/2 - score at 1/4" and 1-3/4" (you'll need two of these to place over the candy base)
Stamps:  None
Inks:  None
Miscellaneous:  Big Shot Machine; any embossing folder of your choice; Simply Scored Scoring Tool; Multipurpose Liquid Glue; Paper Snips; Neutrals Buttons; Mini Glue Dots; Pearl Basic Jewels

Round Chocolate Candy


I wish I could pop one of these in my mouth right now!  Using different embossing folders on each candy piece makes a beautiful display when you set them out - and it's all just paper!  Isn't that awesome?  This item was featured at my "A Frame, Five Pieces, and a Slice" Camp Wannastamp.  The recipe is below!

Recipe:

Paper:  Early Espresso scrap - you'll need 15 1-3/8" circles for each candy piece
Stamps:  None
Inks:  None
Miscellaneous:  SNAIL Adhesive; 1/8" Early Espresso Taffeta Ribbon cut to 4-1/2" long; Multipurpose Liquid Glue; a candy liner; Paper Snips; 1-3/8" Circle Punch; Big Shot Machine; any embossing folder of your choice

Chocolate-Covered Caramel or Petit Four


Isn't this adorable?  I have really gotten into my candy pieces and can't stop making them!  I love the little pink petit four.  It's so delicate and feminine, and with a quilled flower on top, it's good enough for a wedding decoration!  This item was featured at my "A Frame, Five Pieces, and a Slice" Camp Wannastamp.  The recipe below is for the chocolate-covered caramel candy.  Have fun creating your own sweet shop!

Recipe:

Paper:  Early Espresso - 4-1/2 X 3/4 - score at each 1" mark (this is the candy base); Early Espresso - 2-3/4 X 1 - score at 7/8" and 1-7/8" (you'll need two of these to place over the base); Lucky Limeade scrap; Pretty in Pink scrap
Stamps:  None
Inks:  None
Miscellaneous:  Simply Scored Scoring Tool; Paper Snips; Boho Blossoms Punch; Mini Glue Dots; Pearl Basic Jewels; Bone Folder; Silver Glass Stampin' Glitter (if you like a salted caramel look); Multipurpose Liquid Glue

Chocolate Candy Truffle


I am simply amazed that you can use paper to create candy that looks so real, you'll want to eat it!  The good thing about paper candy is that it doesn't have any calories!  WOO HOO!  This item was featured at my "A Frame, Five Pieces, and a Slice" Camp Wannastamp.  Here is the recipe for the chocolate candy truffle.

Recipe:

Paper:  Soft Suede scrap
Stamps:  None
Ink:  None
Miscellaneous:  1-1/2" styrofoam ball; a kitchen knife to cut off the bottom so it sits flat; Itty Bitty Shapes Punch Pack; 1/2" silk pins; a candy liner

Petal Cone Die Cake Piece


WOW!  Aren't these cake pieces beautiful?  I love that I can change the color of card stock and make whatever kind of cake I want!  My good friend Elizabeth Hurst taught me how to make these cake pieces using the Petal Cone Die.  I love it when you can use a Big Shot Die to create something other than what it was intended for!  Cones are good, but cake is better!  This item was featured at my "A Frame, Five Pieces, and a Slice" Camp Wannastamp!  The recipe is below for the chocolate cake piece.

Recipe:

Paper:  Early Espresso - 6-1/2 X 3-1/2 (you'll need three of these.  Place them on your Petal Cone Die to capture the flap, the triangle center piece, and a 1/2-inch section of the next triangle piece.  This extra 1/2" piece serves as your second flap to glue the cake pieces together.  Two of these pieces form the top and bottom of the cake.  For the third piece, cut out the triangle, run it through the Big Shot with the Elegant Lines Embossing Folder, and then glue it to the top of the cake); Early Espresso - 12 X 2-1/2 - score at 6" (this serves as the sides of your cake and gets glued to the top and bottom pieces); scraps for the quilled flowers on top in your color choices
Stamps:  None
Inks:  None
Miscellaneous:  Petal Cone Die; Big Shot Machine; Paper Snips; Simply Scored Scoring Tool; Elegant Lines Embossing Folder; Pink Satin Ribbon cut to 20" long; quilling tool; hot glue gun (to glue the quilled flowers on top); different-sized circle punches for the quilled flowers and leaves; Mini Glue Dots; Bone Folder; Multipurpose Liquid Glue; Pearl Basic Jewels; SNAIL Adhesive

Saturday, June 30, 2012

June Camp Wannastamp

Hello to my blog readers!  My apologies for not posting in a while.  Sometimes life just requires that you pay attention to other things!  I did hold a June Camp Wannastamp; however, I won't be posting those items until July 15th or 16th because I am offering those same items for a special event I am holding with The TOPICS! on July 14th.  I wouldn't want to spoil the surprise of having them see those projects before they've had a chance to enjoy them!  Check back on July 15th or 16th for the full recipes and photos of those projects.  Just wanted to let you know I haven't dropped off the face of the earth, but I am tilted sideways and upside-down a little taking care of commitments and responsibilities!  Such is the life of a busy Stampin' Up! demonstrator!  Ha!