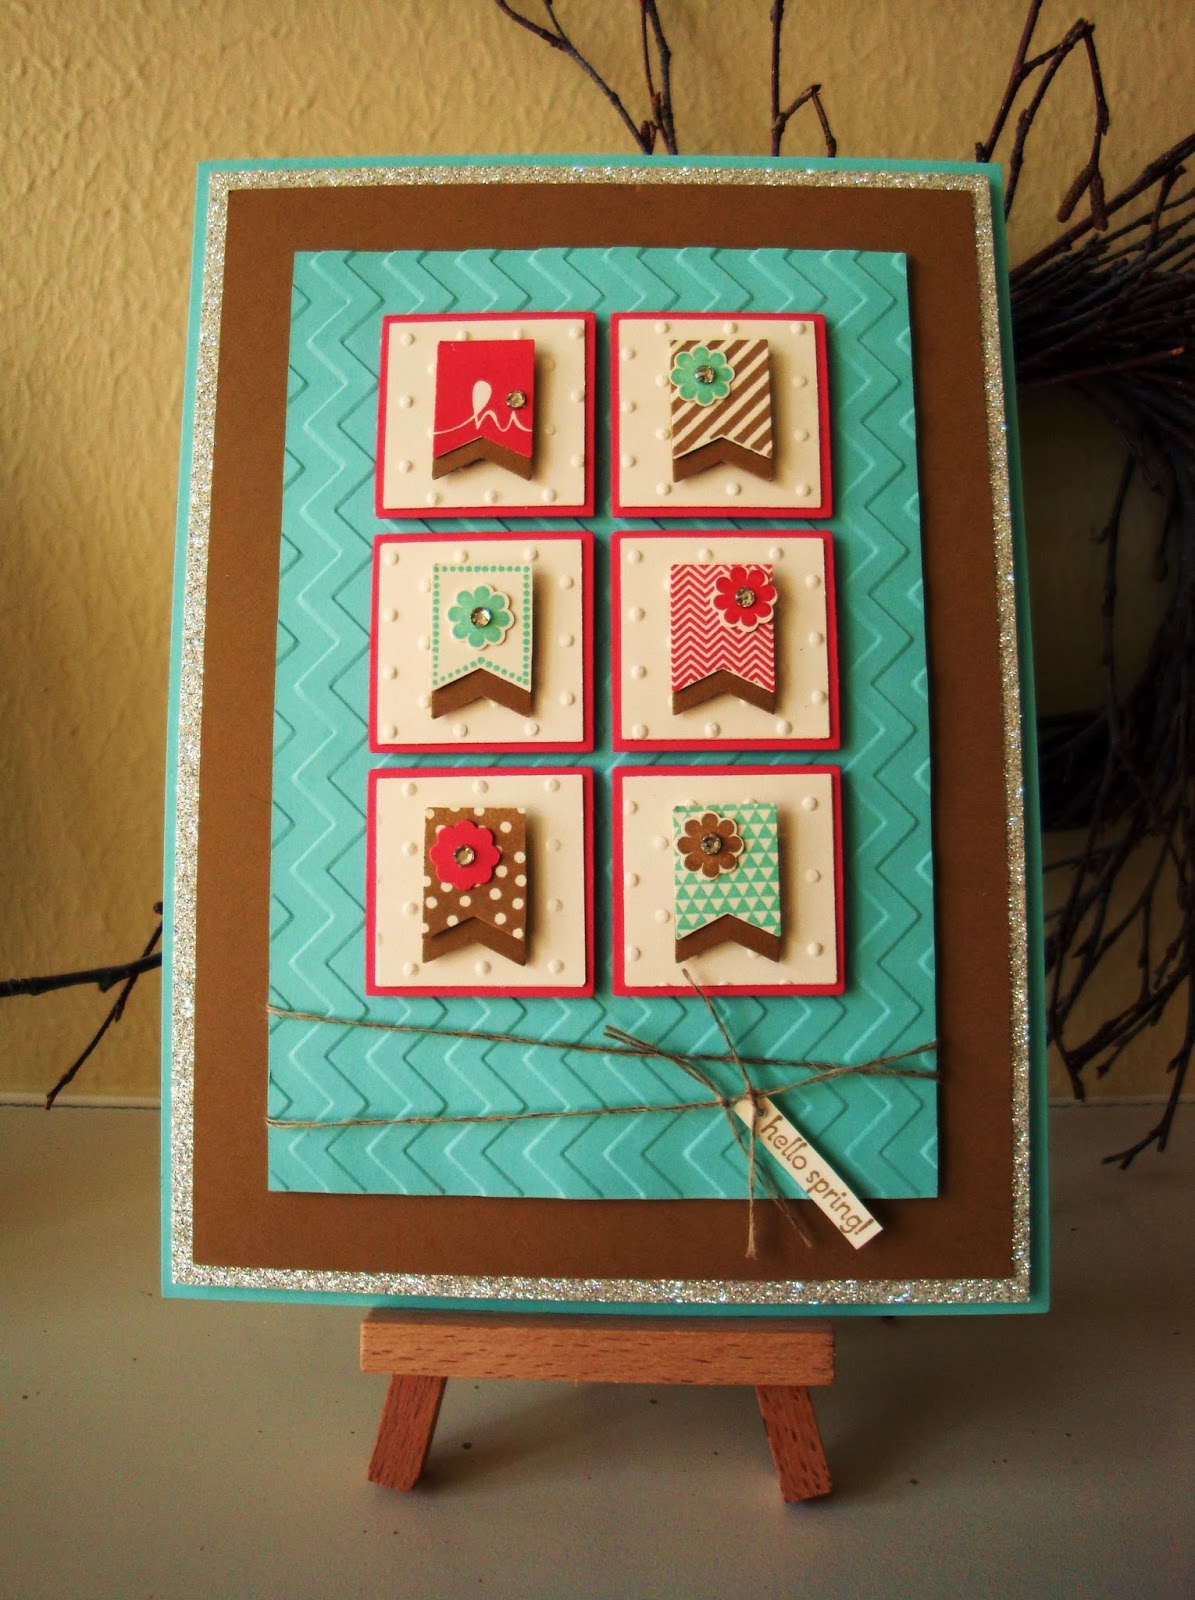
Hello to my blogger friends! One of my recruits, Carolyn Gray, shared this cute sampler project with me. I loved it so much, I made another one, adding a layer of our Silver Glimmer Paper and Pool Party card stock, embossed the white squares with polka dots, and popped up the banner pieces to give it a little more BLING! I love how it turned out.
All of you know that I love tone-on-tone things, so I had to try my hand making this sampler in all Very Vanilla card stock. I also tried making it in all Sahara Sand card stock with Pink Pirouette flowers. They turned out beautifully! I offered the Very Vanilla sampler, along with a Very Vanilla card, at my Thursday Therapy yesterday. We had a wonderful time and everyone LOVED their samplers! Thank you, Carolyn, for such a splendid idea!
Sampler Recipe:
Paper: Very Vanilla - 7-1/2 X 5-1/2; 7-1/4 X 5-1/4; 7 X 5; 4 X 6 (you'll dry emboss on this layer); Very Vanilla scraps for the squares, the banners, the flowers, and the tag
Stamps: Lovely Little Labels; Tiny Tags (sorry, this set is retired, but many CUTE current greetings will work for the tag)
Inks: Basic Black or Early Espresso
Miscellaneous: Stampin' Dimensionals; SNAIL Adhesive; Embossing Folder of your choice; Big Shot Machine; Linen Thread - 22" long; Jewelry Tag Punch (retired); Paper Piercer with Mat; 1-3/8" Square Punch; 1-1/4" Square Punch; Banner Punch; Itty Bitty Shapes Punch Pack; Mini Glue Dots; Pearls; Paper Snips; Perfect Polka Dots Embossing Folder
Card Recipe:
Paper: Very Vanilla - 11 X 4-1/4; 4-3/4 X 3-1/2; 2-1/2 X 2-1/2 (for the Floral Fusion Sizzlits); 2-1/2 X 1/2"; Very Vanilla Scrap for the banners and the flowers
Stamps: Teeny Tiny Wishes (a retired set, but many CUTE current greetings will work)
Inks: Early Espresso or Basic Black
Miscellaneous: Stampin' Dimensionals; Decorative Dots Embossing Folder; Big Shot Machine; Gold Baker's Twine - 22" long; Banner Punch; Itty Bitty Shapes Punch Pack; Mini Glue Dots; Pearls; Paper Snips; Floral Fusion Sizzlits; SNAIL Adhesive; Stamp-a-ma-jig
Friday, February 28, 2014
Thursday, February 13, 2014
Valentine's Day Home Decor
Here's a great project that I thought you might like. During Christmas, I made a home decor piece just like this using the word "NOEL," and I placed a Red Glimmer Paper star above it. It was adorable, so I thought why not try it for Valentine's Day, too! Which one is your favorite? It's too hard to pick! It's a super-simple project, but has a big impact when placed in a nice stand. Of course all of the supplies are from Stampin' Up!, and the recipe is below.
Recipe:
Paper: Whisper White - 8 X 8; Whisper White - 6 X 6; Whisper White scrap for the letters; Red Glimmer Paper for the heart
Stamps: None
Inks: None
Miscellaneous: Stampin' Dimensionals; Alphabet Typeset Bigz Dies (retired, sorry!); Mini Glue Dots; Small Heart Punch; Rhinestone Jewel
Tip: Instead of using Stampin' Dimensionals to pop the letters up, I rolled Mini Glue Dots into little balls and placed them in several places on the back of each letter. This was so much easier than cutting the dimensionals into tiny little pieces. I also found that it was easy to adjust the letters, if need be, using the Mini Glue Dots. They move easily!
Subscribe to:
Comments (Atom)


